Client Onboarding
New Computer Setup
Setting up a brand-new computer? Follow these steps and the Braintek flash drive will do most of the work for you.
Unbox the computer
Your brand-new computer is ready to go. Plug it in, power it on, and get ready to dive into setup.
Start it up
As soon as it turns on, you’ll land on the Out-of-Box Experience (OOBE) screen — this is where it asks for your language, region, and other basics.
Plug in the flash drive
Grab the flash drive Braintek gave you and plug it into any available USB port. The system will recognize it and begin setting itself up. It’s safe to unplug once the screen shows “setup completed successfully.”

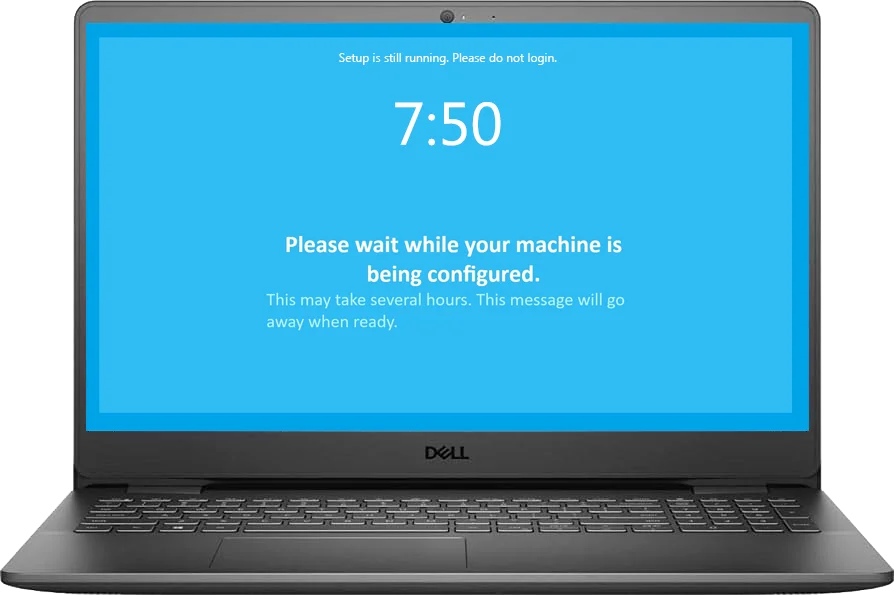
Sit back and relax
BrainyBot is now hard at work in the background, installing all the software and settings you’ll need. No clicking, no typing — just let it do its thing. The computer will reboot several times as it runs updates and installs software.

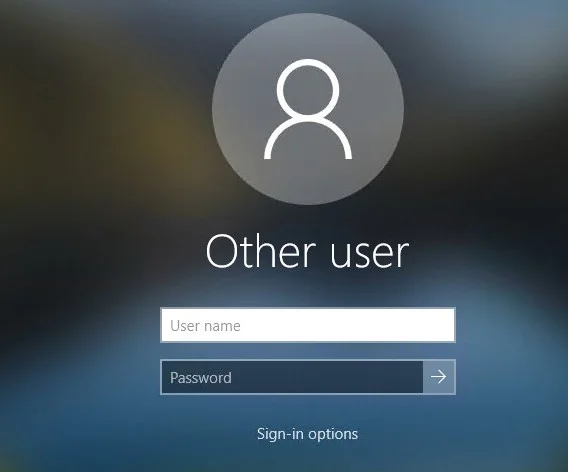
Log in and get to work
When it’s done (this can take up to a few hours depending on network speed), you’ll get an email confirming setup is complete. Log in with your company credentials. All required apps are installed, but you’ll still need to sign in to services like Microsoft 365 (Outlook, OneDrive, Teams), Adobe, and others. Want us to help finish up? Let us know here.
You’re ready to roll!
Everything you need is installed and ready. Get started and enjoy your fully prepped computer. Any issues or need a hand? Reach out to support@braintek.com.
Run into trouble or want us to finish the setup with you? Let us know here or email support@braintek.com — or call 281-367-8253.