

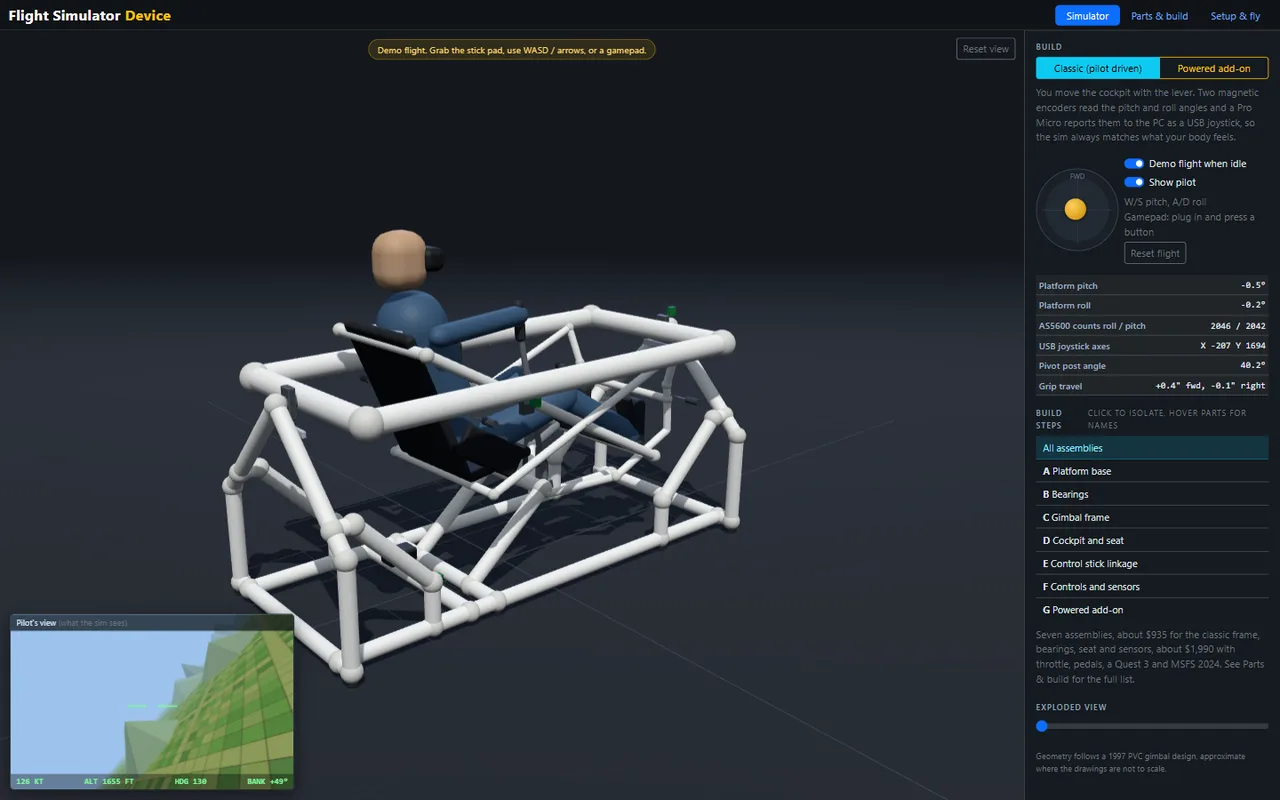
For years I have had a PDF on my drive: plans from 1997 for a home built motion flight simulator. A PVC frame, a seat hung in a gimbal, no glue, a drill as the only power tool. You sit in it, push the stick, and the whole cockpit tips. I always meant to build one. I never did, mostly because the plans were written for a world of 1990s TV headsets and a gutted joystick tied to the frame with elastic.
So I gave the PDF to Claude and asked for a modern version I could see working before I bought a single pipe.
▶ Open the Flight Simulator Device
What does the app do?
It has three pages, and together they take you from curiosity to flying.
- Simulator. A live 3D model of the whole rig, built from the plan dimensions in inches. Grab the stick pad, use the keyboard, or plug in a gamepad, and the cockpit rolls and pitches while a small window shows what the pilot sees in the sim. Hover any part for its name, click a build step to isolate it, or drag the exploded view slider to pull the frame apart.
- Parts and build. A full bill of materials where every line links to a store listing, with pack math so you know how many to order. There is a shopping list per store, a cut list, ten illustrated build steps, the wiring diagram, and the firmware.
- Setup and fly. What to buy for each display path, how to flash the firmware, how to calibrate and bind the axes, a Quest 3 path and a triple monitor path, one click launchers, and recommendations for the PC that runs it.
The goal I gave Claude was simple: I sit down in the chair, put on the headset or turn on the monitors, load the sim, and start flying.
What changed from the 1997 design?
The geometry stayed. The parts that aged badly did not.
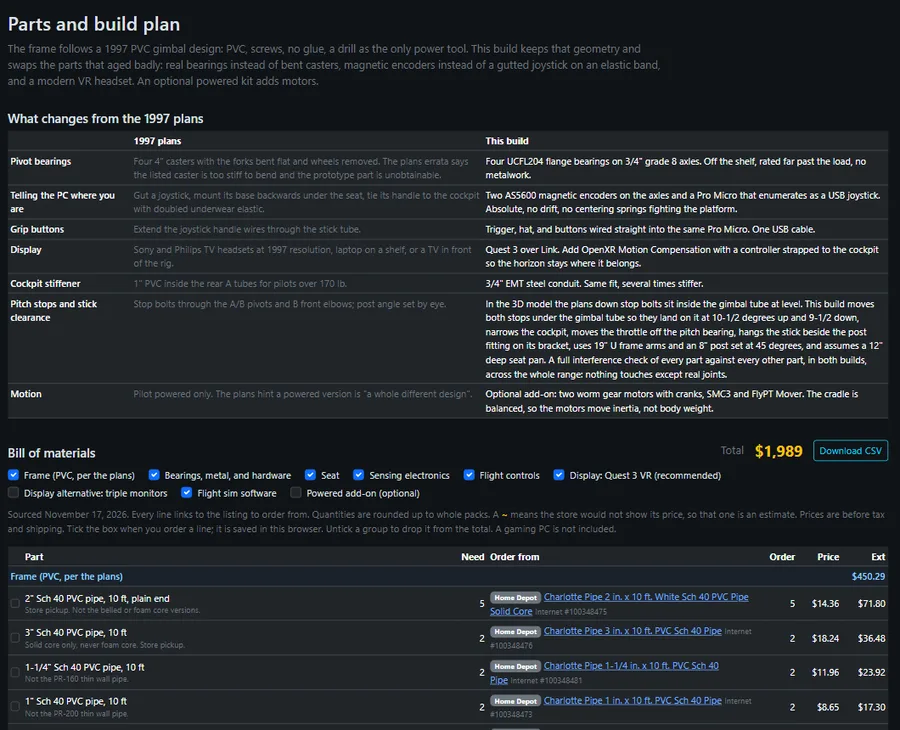
- Bearings. The original bends caster swivels flat to make pivots, and even its own errata admits the right caster is hard to find. This build uses four UCFL204 flange bearings on 3/4 inch grade 8 bolts. Off the shelf, no metalwork.
- Sensors. Instead of a gutted joystick under the seat, two magnetic encoders read the pivot angles directly. No drift and no springs fighting the platform.
- Display. A Quest 3 over Link or Virtual Desktop instead of a 1997 headset, with a strapped on controller so the horizon stays put when the cockpit moves.
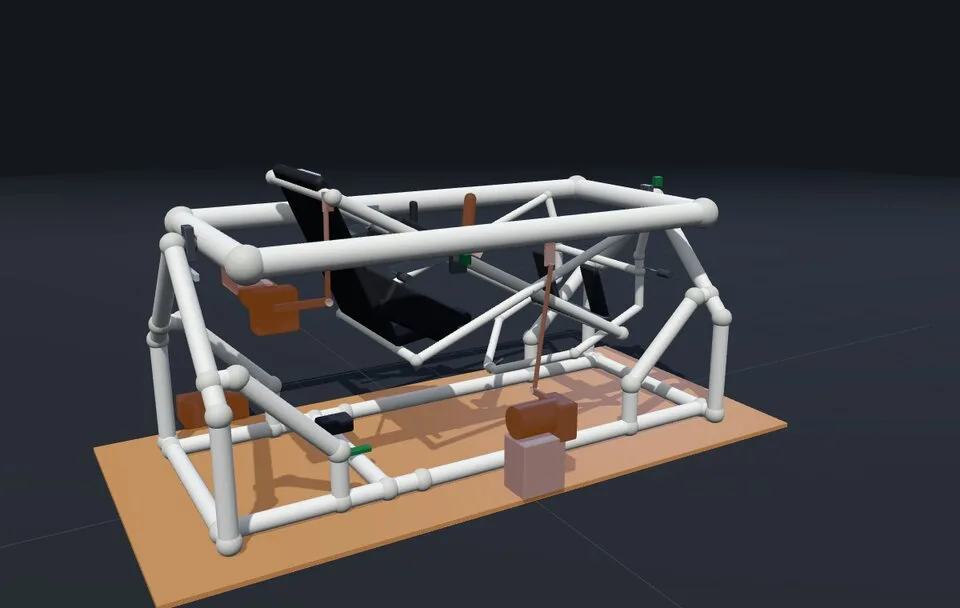
- Motion. The original is pilot powered only. The optional powered kit adds two worm gear motors with cranks, an SMC3 controller, and FlyPT Mover, so the sim can tilt you through turns.
How does pushing the stick move the plane?
This was my first real question. If I push the stick forward, does the sim go nose down too?
Yes. In the classic build you are the motor. Pushing the stick tips the whole cockpit nose down. A magnet on each pivot axle sits over an AS5600 encoder, which reads the angle to a fraction of a degree. A Pro Micro board turns those two angles into a standard USB joystick, so Microsoft Flight Simulator 2024 or X-Plane 12 sees it like any other controller. The cockpit’s angle is the stick input, which means your body and the screen always agree.
The firmware is in the app, about a page of Arduino code. The setup page walks through installing the Arduino IDE, flashing the board, and binding the two axes in the sim.
How do you find problems in a machine you have not built yet?
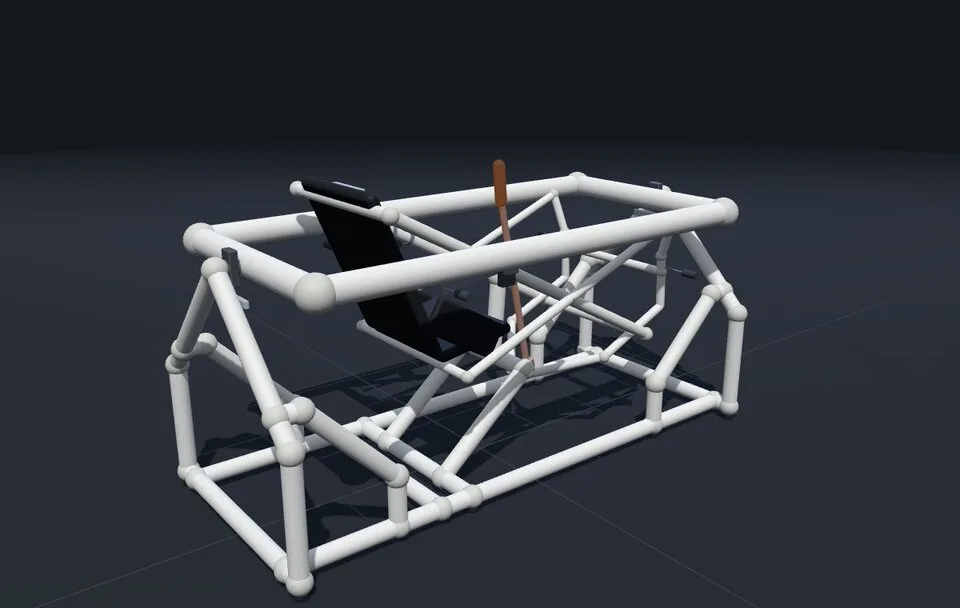
This is where the 3D model paid for itself. I flew it in the browser and sent Claude screenshots of anything that looked wrong. Each one turned out to be a real problem I would otherwise have found with a saw in my hand.
- The handle hit the seat post. Moving the stick drove the grip into the seat frame. The fix moved the stick linkage.
- The stick passed through a pipe fitting. On the plans it looks fine. In 3D the stick went straight through the post and tee. The real part hangs beside the fitting on a bracket, so the model does too.
- The powered motor cranks collided with the frame. The roll crank swung into its own mount and the plywood base.
- Nose down barely moved. The cockpit only tipped about 7 degrees, which next to 28 degrees of roll looked level.
That last one led to the most useful step. I asked Claude to make sure there were no more problems like these. It wrote a full interference check: every part tested against every other moving part, across the whole range of motion, in both the classic and powered builds. It then searched different stick layouts and found that the linkage tops out at about 10 degrees each way before something touches. The final design reaches 10-1/2 degrees nose up and 9-1/2 nose down, with full roll, and nothing touches except the joints that are supposed to.
The cut list, build steps, stop positions, firmware ranges, and every build picture were updated to match.
Quest 3 or three monitors?
I asked Claude this too. The answer was the Quest 3, for a reason that matters more on a motion rig than a desk: the headset moves with you, so what you see always matches what your body feels. OpenXR Motion Compensation, with a controller strapped to the cockpit, keeps the world from tilting when the seat does.
Three monitors still work, and the setup page covers them, but they have to mount on the cockpit so they move with you. Monitors on a desk in front of the rig would tilt out of view every time you bank.
For the PC, the setup page lists a good tier and a better tier. The better one is a Ryzen 7 9800X3D with an RTX 5080, because flight sims lean hard on the CPU’s cache and VR needs at least 16 GB of video memory.
What did I take away from it?
A PDF I had carried around for years became, in one day:
- A 3D model I could fly before buying anything
- A parts list I can order from, with a link for every part
- Build instructions with a picture at every step
- Working firmware and a setup guide that ends with me flying
- Four design problems found on screen instead of in the garage
What made it work was the same back and forth that works on business software. I described the outcome, looked at what came back, and said what was wrong. The difference now is that each round takes minutes. The build apps with AI showcase collects the other projects, and our AI services page covers how we do this for businesses.
Now I need to go buy some PVC.
— Greg
▶ Fly the Flight Simulator Device
The cut list follows the original 1997 dimensions, adjusted where the interference check required it. Build and fly at your own risk, and test the frame before you trust it with your weight.